
This is a tutorial for GIMP as well to make jpegs with test and picture in them as well.
Open Gimp clicking on the panel (only needs one click whilst the icon on the desktop needs two clicks.)
Goto File then New and Enter to get the pop up Create a New Image Enter Width 1280 Height 800 and click OK.
On the Toolbox there are a black and white squares. They represent the Foreground black and Background white of the images you will create.
Now click on the black square in the Change Foreground Screen by the HTML notation on the right of the colour pop up box that appears.
There is a little blue eyedropper colour picker on the right of the empty white field click on the eyedropper which will now become the cursor. Now move to a colour you like except white, anywhere on the desktop screen and click. You will see the HTML code change to the six figure Hex code for that colour and on the left the Current: changes from Black to the colour you have picked.
Click OK to confirm your colour choice.
The Foreground colour square will now change to the same colour you have chosen.

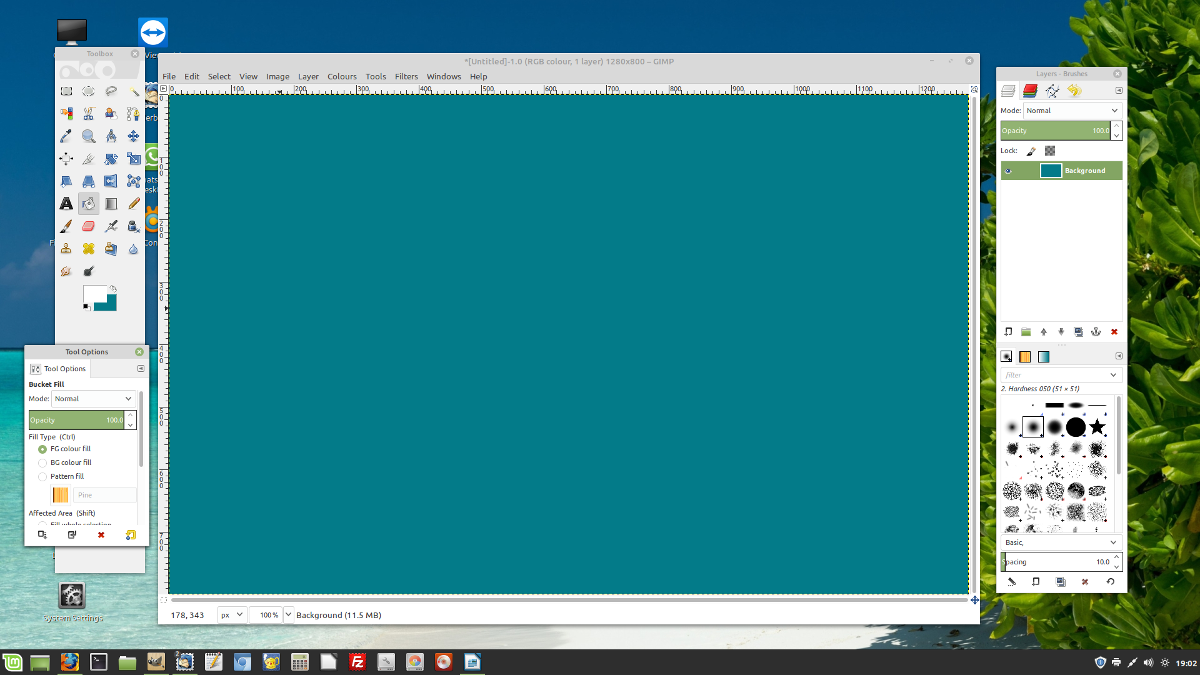
On the Toolbox on the second row from the left 7th down is a bucket fill tool click on this. Now click that tool on your Gimp Panel Image which says [Untitled] at the moment. The whole of the image will turn to that colour.
Now go to the Foreground and Background icon in the toolbox and switch the Foreground with the Background by clicking on the top right the switch icon two small arrows at the top rightof the squares. This makes your coloured image the Background coloured and the Foreground white. You could of course click on the Foreground square and change the colour that you want to write with.
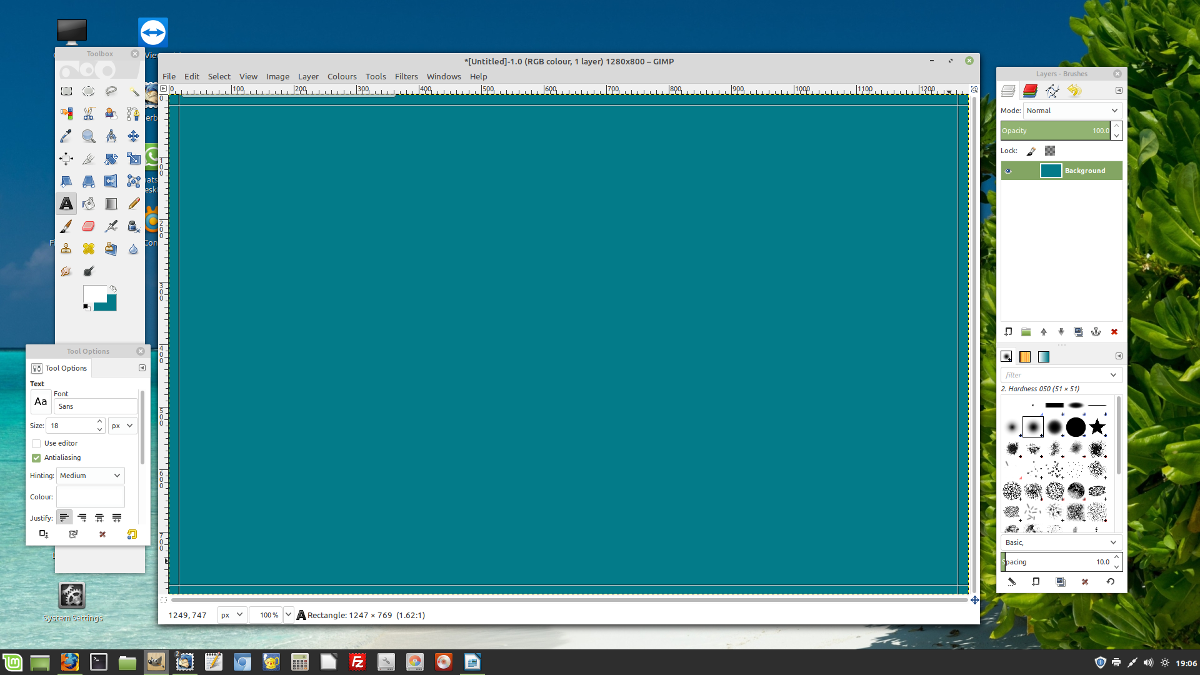
Go to the Toolbox and get the Text Tool which is a a black A in the toolbox left column 6th down. Move to the Image and starting at the top left 20 in and 20 down on the scales on the image edges, of the Image click and hold down and move the text rectangle placement to the bottom right finishing at the bottom left 20 in and 20 up on the scales on the image edges of the Image then release.
You should now have an outlined text box where your text will go. The reason why it is slightly smaller than the whole image is so the text will not go to the edges.
If you did not put it in the right place then you can move the corners of the rectangle to place it correctly.
Now you can start typing and the text will appear in the Foreground just type Hello World for the moment. Now in the Tool options at the bottom of the toolbox you will see the size as 18 click on the adjacent up arrow and see the text grow now return it to 16 with by clicking the down arrow.

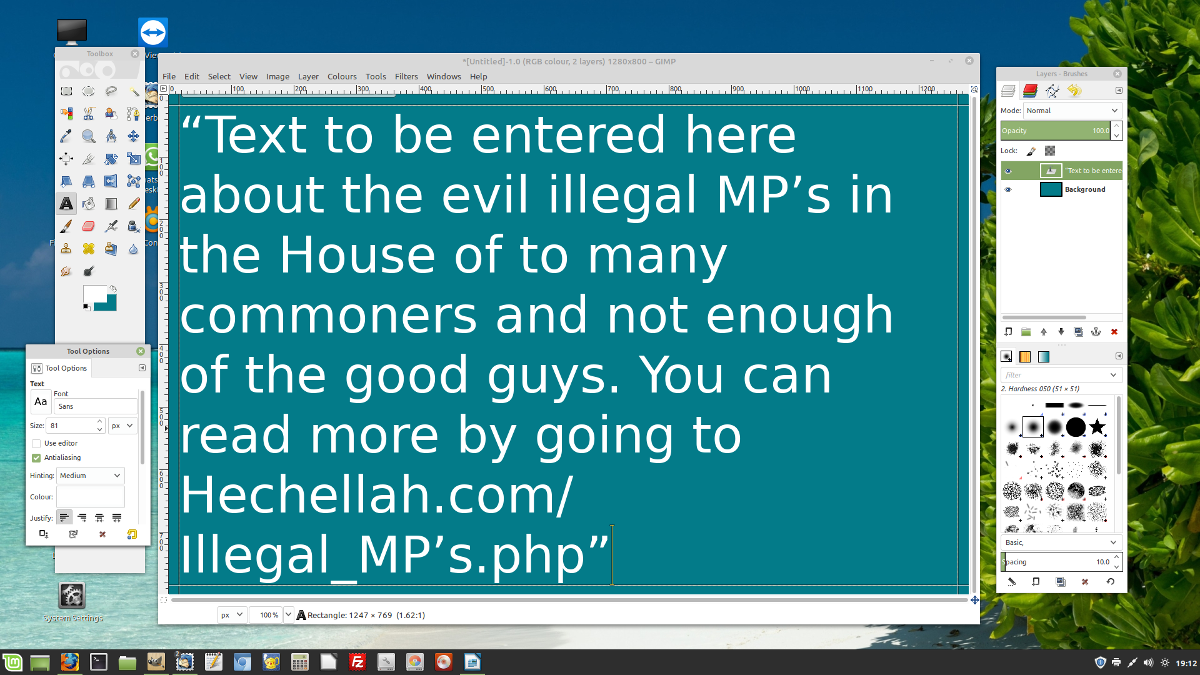
Now copy this text below in quotes by highlighting it and press Ctrl C “Text to be entered here about the evil illegal MP’s in the House of to many commoners and not enough of the good guys. You can read more by going to Hechellah.com/Illegal_MP’s.php”
Now move to the Image and delete Hello World and press Ctrl V. You may go to the quotation marks and remove them if you wish. Now go to the Text Tool Options box and click on the up arrow to make the text fit the box.
Now if you are satisfied you can now fix this if not delete it all and put different text in from another document you have prepared. Remember not to much text as it might not be readable.
Now you can save this by going to the Image tab on the top line of the Image then click and then Flatten Image. Now it is locked and no longer can be changed.
Now to save it go to File on the top line then Export As in the pop up Export Image it has Places set as Documents click on Pictures. Now at the top in green it says Untitled as it is in green click on this and enter My First Image. Leave it as a .png unless you want a .jpg or .jpeg. Png has a greater file than jpegs as they have more information so the png images are sharper.
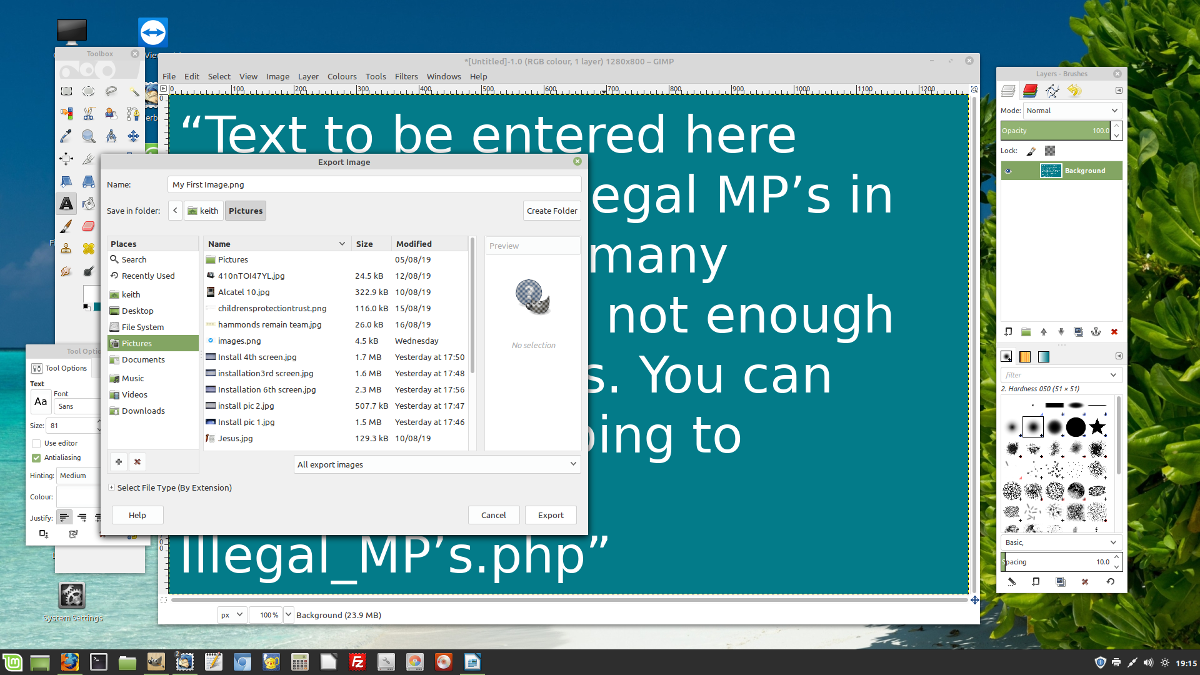
Now click on Export at the bottom right and in the Export Image as PNG click on Export again.
Now you have the image in Pictures so go to files and look for it in Pictures and click on it to view it.
Now if you want to change something in it you can go back to Gimp by right clicking select open in GNU Image. Then using the brush tool erase something then put in new text where you have erased. When it is OK click on Files and this time click on Overwrite My First Image.
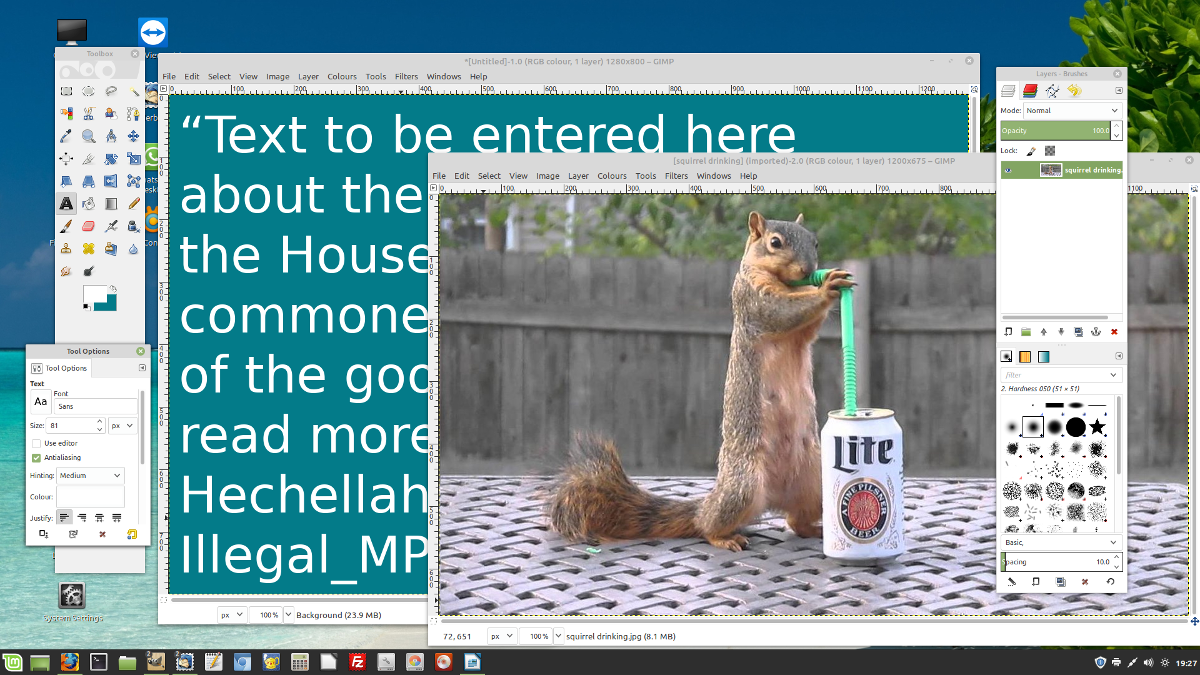
Now if you want to put an picture image on to to My First Image you have created. So open an image you want to add that you have in Pictures in your File folder and right click and move down one space to Open in Gimp and click. This will add a second Gimp screen with the image.
The pixel scale is on your images so you can see how much you want to reduce it relative to where you are going to place it. To resize your picture image go to Image then Scale Image then reduce it by changing the green highlighted number to the pixels you want. You only need to change the highlighted value it keeps the relationship when you click on scale. Now click on scale.
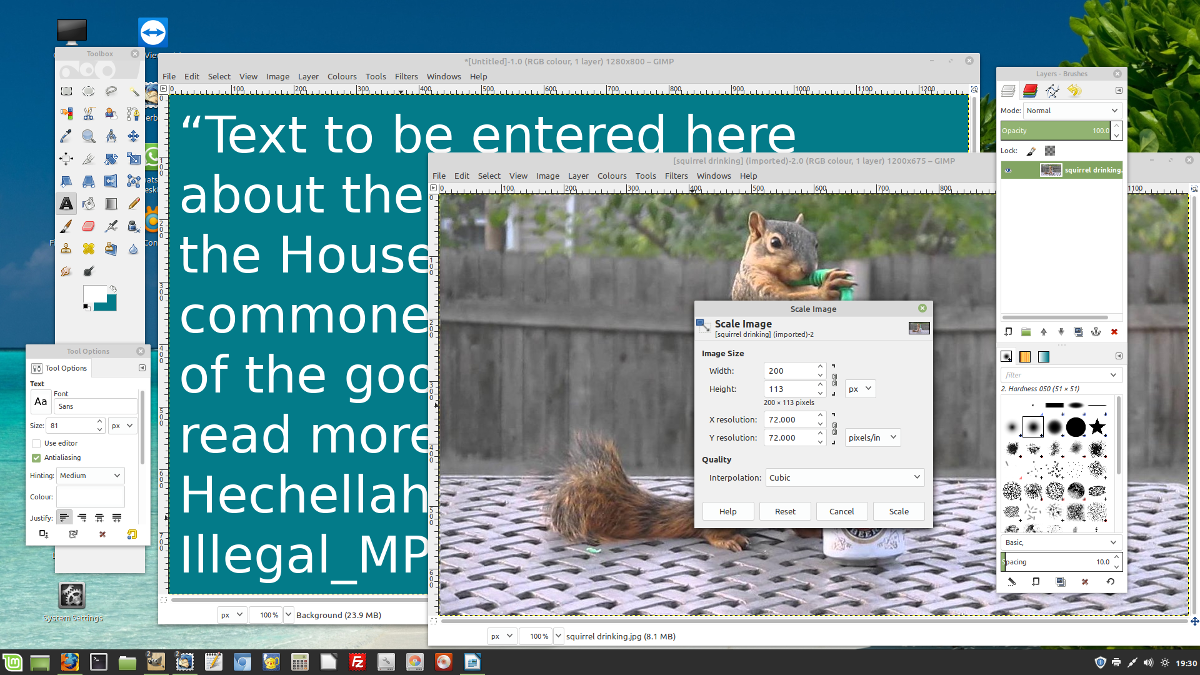
Resize the image.

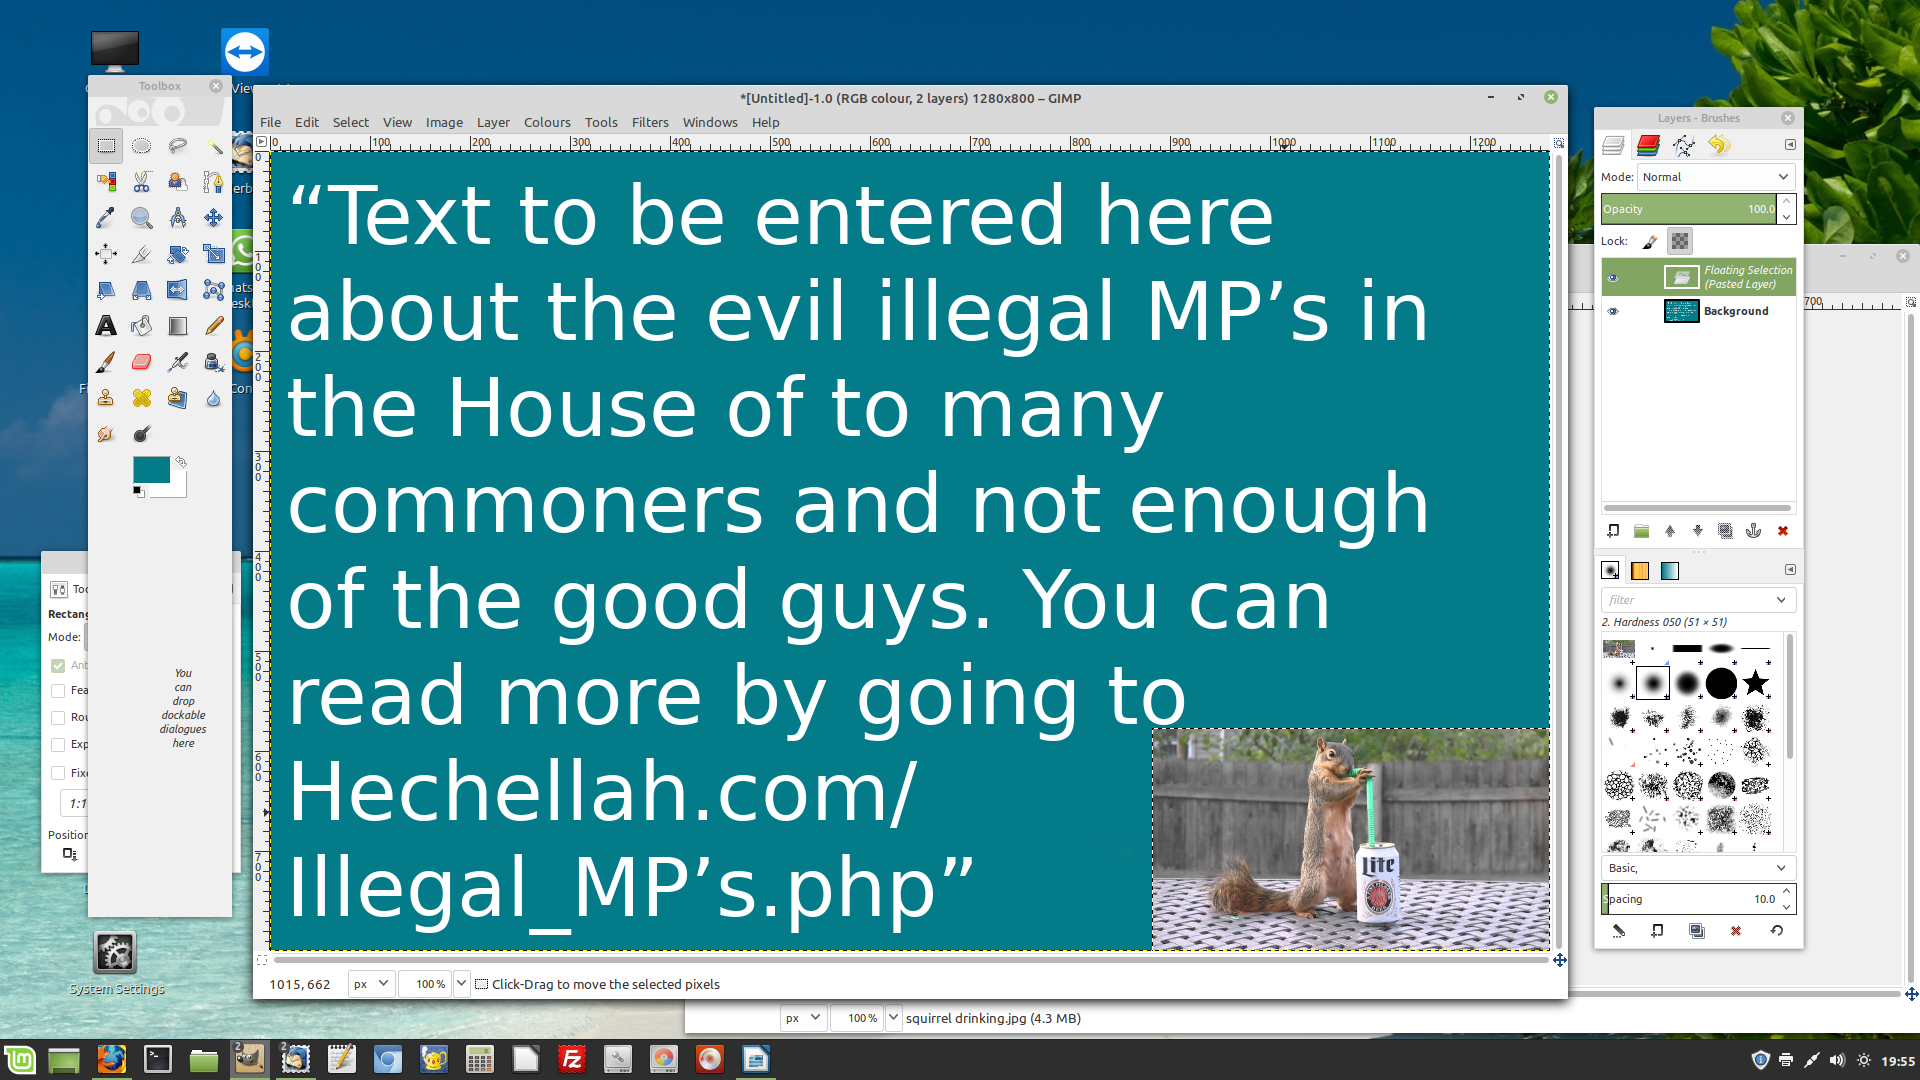
Click on Edit and copy. Then got to your My First Image and click on Edit and paste. The image appears in the middle of your My First Image.
To move it you must first select the rectangle box top left in the toolbox. Then click on the image and move it to where you want it and click.
Now flatten the image Goto Image and Flatten.
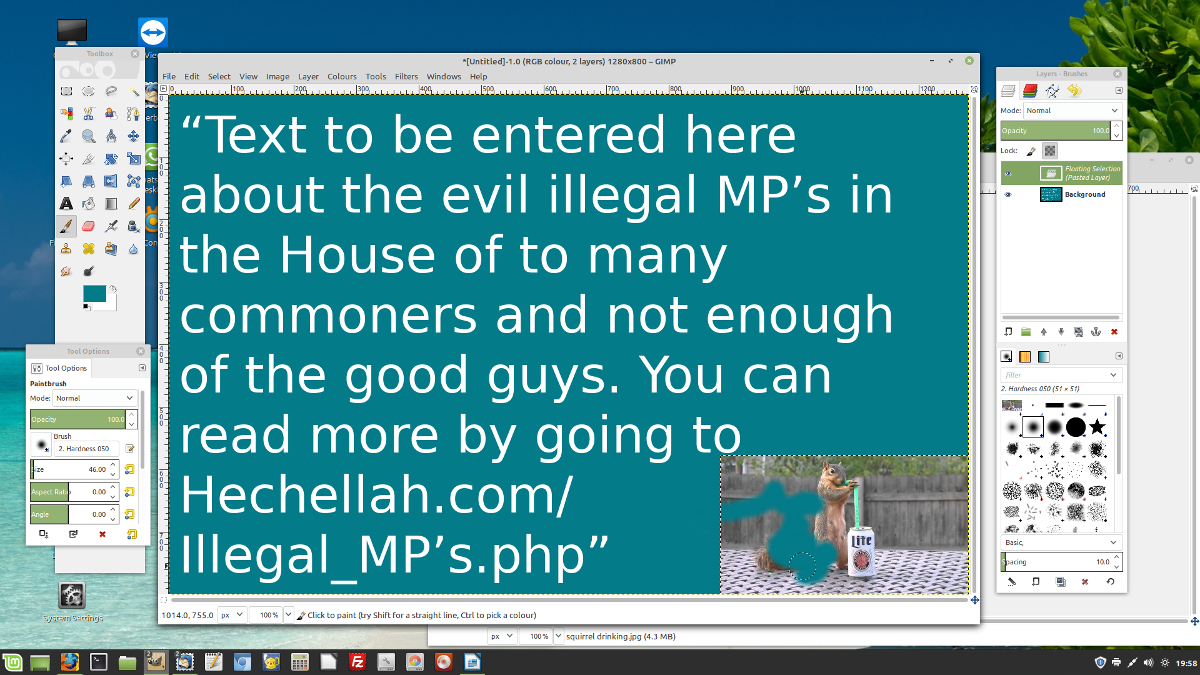
Now if you decide you think it to small use the paint brush in the toolbox left column 7th down. Now change the Foreground and Background colour around with the little double arrow on the top right of the squares so the brush will paint in the Background colour. So brush the picture out or any unwanted text.
You then can flatten it and File it to the original picture or if you want to keep that Export it to a new name as you originally exported your My First Image.
You can always contact us by phone for other queries on 0203 669 6885